The signature in a cold email: what to put in it
You create a signature once in Emelia, apply it to as many mailboxes as you like, and insert it into your emails wherever you choose. The setting is the same whether your mailbox is Google, Microsoft or SMTP. And the essentials fit in one sentence: in outreach, the best signature is the simplest one.
What we recommend
Your first email lands with someone who does not know you. Spam filters look at everything that weighs a message down: images, links, complex formatting. A heavy signature adds all of that to every email in your sequence.
Our recommendation: your first and last name, your job title, possibly your company name. In black, no colour, with a touch of bold or italic at most. And one link at most, to your website or your LinkedIn profile, not both: every extra link weighs the message down.
- First name, last name and job title, in black text
- A touch of bold or italic to set the hierarchy
- One link only: your website or your LinkedIn
- The same format on all your mailboxes
- Logo, banner, photo or social media icons
- Several links: website, LinkedIn, calendar, socials
- Colours, fancy fonts, HTML tables
- Ten lines of legal notice or confidentiality clause
One only, small and very light (a logo of a few kilobytes, not a banner). Add it with the editor's image button: Emelia hosts it for you, and it will display for your recipients.
Create a mailbox's signature
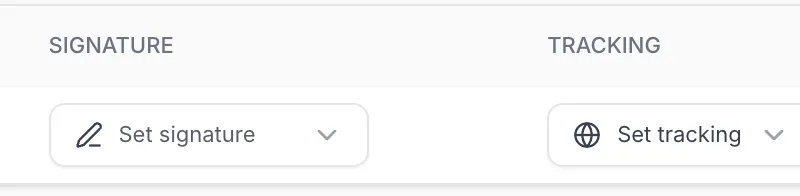
In Accounts, on the mailbox's row, click Set signature in the Signature column. A list opens with your existing signatures and, at the bottom, New signature.
 1
1- 1Click Set signature, then New signature.
Fill in the Create signature window
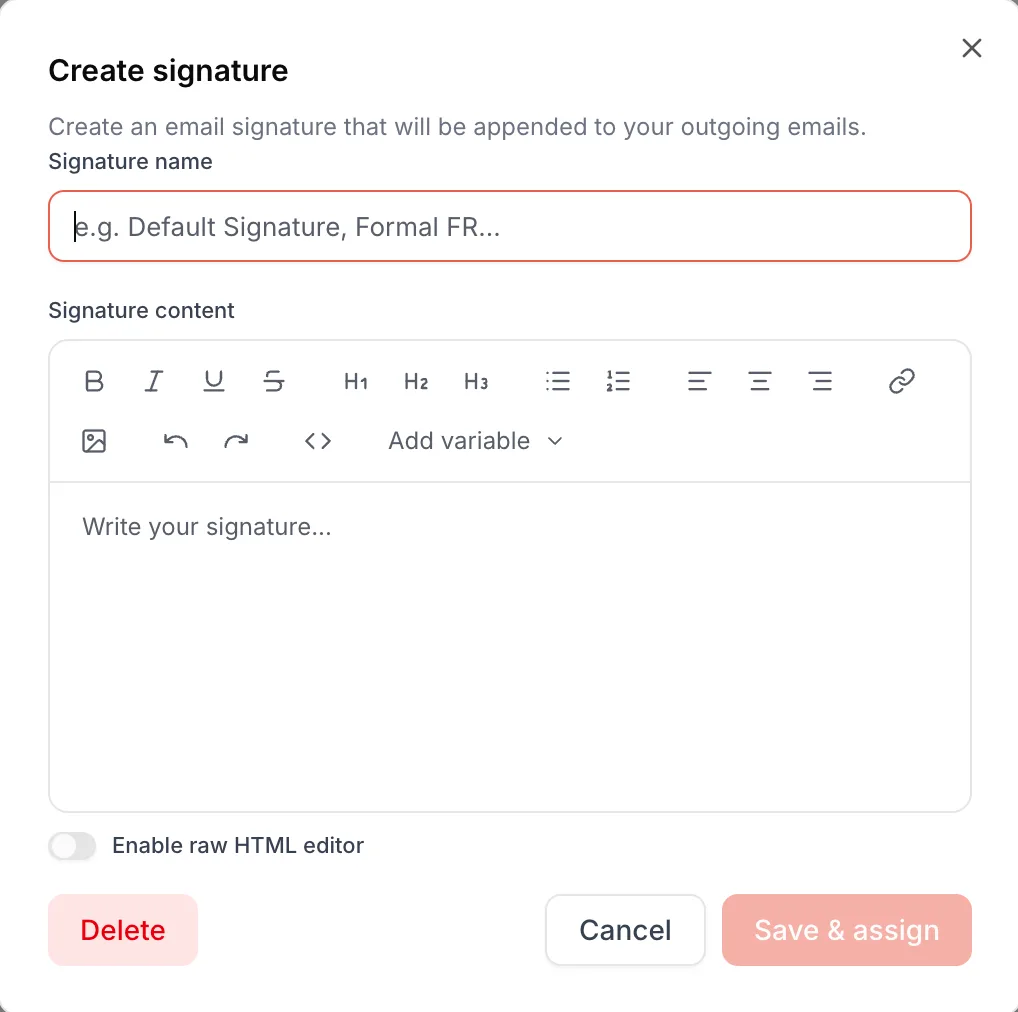
The Create signature window has everything you need. Type your signature in the text area, as you would in an email.
 123456
- 1Signature name: only you see it, to find the signature in the list.
- 2Bold and italic: enough to set the name apart from the job title.
- 3The link button: one link only, to your website or your LinkedIn.
- 4The image button: best avoided, or a single very light image.
- 5Enable raw HTML editor: to paste the code of an existing signature.
- 6Save & assign saves the signature and applies it to the mailbox.
The toolbar also offers headings, lists, alignment and Add variable: you will not need them for an outreach signature. To edit a signature later, open the Set signature list and click the pencil icon next to its name: the change applies to every mailbox that uses it.
Reuse an existing HTML signature
Emelia does not pick up the signature set in Gmail or Outlook: you have to recreate it. If you want to reuse its code, turn on Enable raw HTML editor, paste the HTML, then click Preview to check how it looks.
A signature copied from an email client or a signature generator often contains images hosted by that tool: they show for you, not necessarily for your recipients. Send yourself a test email to an outside address. If the image does not show, remove it or add it with the editor's image button.
The same signature on several mailboxes
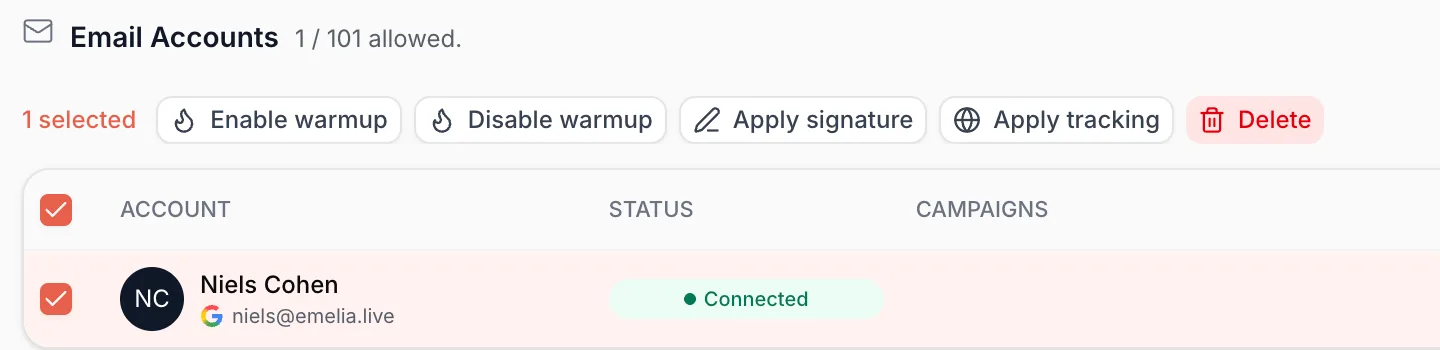
To put the same signature on ten mailboxes, no need to go row by row. Tick the mailboxes in the left-hand column, then click Apply signature in the bar that appears above the table.
 123
123- 1Tick the mailboxes concerned.
- 2The header box selects them all.
- 3Click Apply signature.
 12
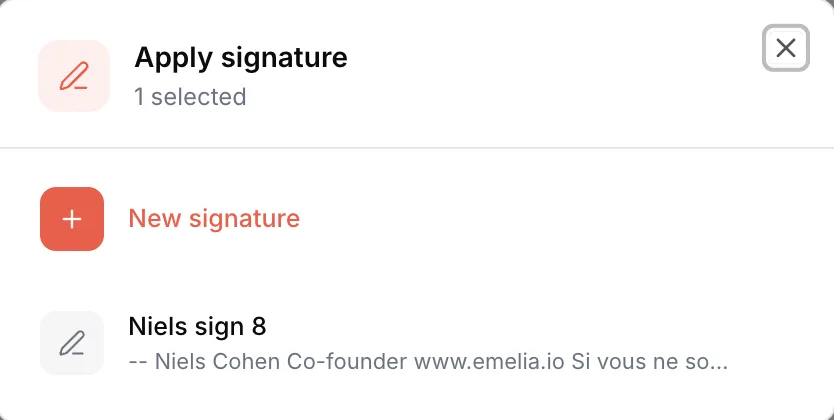
12- 1New signature: create one, applied to every ticked mailbox.
- 2Or click an existing signature to apply it.
In the Apply signature window, click the signature to apply, or New signature to create one: it is applied in one go to every ticked mailbox.
If your mailboxes carry the names of different people, create one signature per person. Each email goes out with the signature of the mailbox sending it.
Make the signature appear in your emails
This is the question we get most often: the signature is not added automatically at the bottom of your messages. It appears wherever you insert it in the campaign email.
In the editor of an email step, put the cursor at the end of the message, click Add variable and choose Signature in the Insert section. You can also type “/” in the editor. A {{signature}} placeholder appears: at sending time, it is replaced by the signature of the mailbox that sends. Save the step before running a test. Writing the emails is covered in writing your sequence.
Insert the placeholder in every email of the sequence where you want the signature, follow-ups included. The email preview shows the sending mailbox's signature: it is the easiest way to check.
Frequently asked questions
The questions we get asked on this topic, answered briefly.
My signature does not appear in my emails, why?
Almost always because the {{signature}} placeholder is not in the email. Insert it with “Add variable”, then “Signature”, or by typing “/” in the editor, and save the step. Also check that a signature is assigned to the sending mailbox: without one, the placeholder stays empty.
I see two signatures in my emails
Your email service adds one on its side: a signature set in Gmail or Outlook, or a common footer enforced by the Google Workspace administrator. Keep only one: remove the email service's, or do not set a signature in Emelia.
Can I import the signature from my Gmail or Outlook mailbox?
Not automatically. Recreate it in Emelia, or paste its code into the raw HTML editor, then check how it renders for an outside recipient.
Is the link in my signature tracked?
Yes if click tracking is turned on in the campaign: like the other links in the message, it is rewritten to go through your tracking domain. One more reason to keep a single link.
How do I remove a mailbox's signature?
Open the “Set signature” list on the mailbox's row and click “Unassign signature”. The signature stays available for your other mailboxes.
Do LinkedIn messages need a signature?
No. The signature only applies to emails. On LinkedIn, a signature makes the message look automated; if you want to share a contact detail, write it in the text.